So those little lumps that have been sitting on your forehead for weeks finally broke down your will and you did it. You picked. Hey, don’t be ashamed! You’ve done it, they’ve done it, I’ve done it! The brief relief followed by the instant regret and the self loathing every time you look at that extra tender, bright red and swollen wound. Whose idea was this again?! Anyway, what’s done is done, and now we need to focus on recovery, and how to avoid any nasty scarring!


The first day after picking (first image) vs 2 days later (second image) following a routine focusing on hydration and healing!
So here’s your post pop routine for a successful recovery (and to hide the sins) :
Step 1:
Put down the chemical exfoliants Usually, chemical exfoliants are great! In fact, they can be key to making sure pimples never reach the popping stage in the first place!
But we’re past that now, and chemical exfoliants are the LAST thing we need! We’ve gone and created an open wound, putting glycolic acid on it is not only going to sting like anything, but it’s also going to increase redness and irritation. The skin is already irritated, so let’s avoid that!
Step 2:
Disinfect! So about that open wound? Yeah, we gotta sterilise that! All kinds of bacteria can get introduced when popping a pimple, from your fingers nails, the tools you used, the exposure afterwards- and all that leads to infection. Now not only will you have a nasty scar, but you might also have to deal with painful pustules, rashes, or even abscesses and more dangerous complications! A whole lot worse than that pesky little bump was worth.
Find a simple antiseptic, I like to use a bit of betadine liquid on a cotton bud, or some antiseptic wound gel from my medicine cabinet, and dab that gently on the wounded area. Not only will this help the healing process as it kicks out any nasties already inside, but it also helps prevent infection! A win win.
Step 3:
Slap a pimple patch on that sucker! Pimple patches will now be your best friend! Similar to a Band-Aid, we need to protect the wounded area but, even better than a Band-Aid, pimple patches help draw out any gunk to the surface and suck it right out. This is also going to help promote faster healing, as any excess fluid, pus, sebum or similar grossness will be drawn out, as well as the pimple patch forming a protective seal over the delicate and irritated area. Seriously, a good pimple patch is your best friend!
Step 4:
Amp up the hydration! Once your pimple patch has been on for 4-6 hours or, even better, overnight, we wanna heal that wound and minimize that scarring! The best way to help with this is hydration, hydration, hydration! Keeping wounds moist can help accelerate healing, and healthy, hydrated skin is also going to be better at recovering!
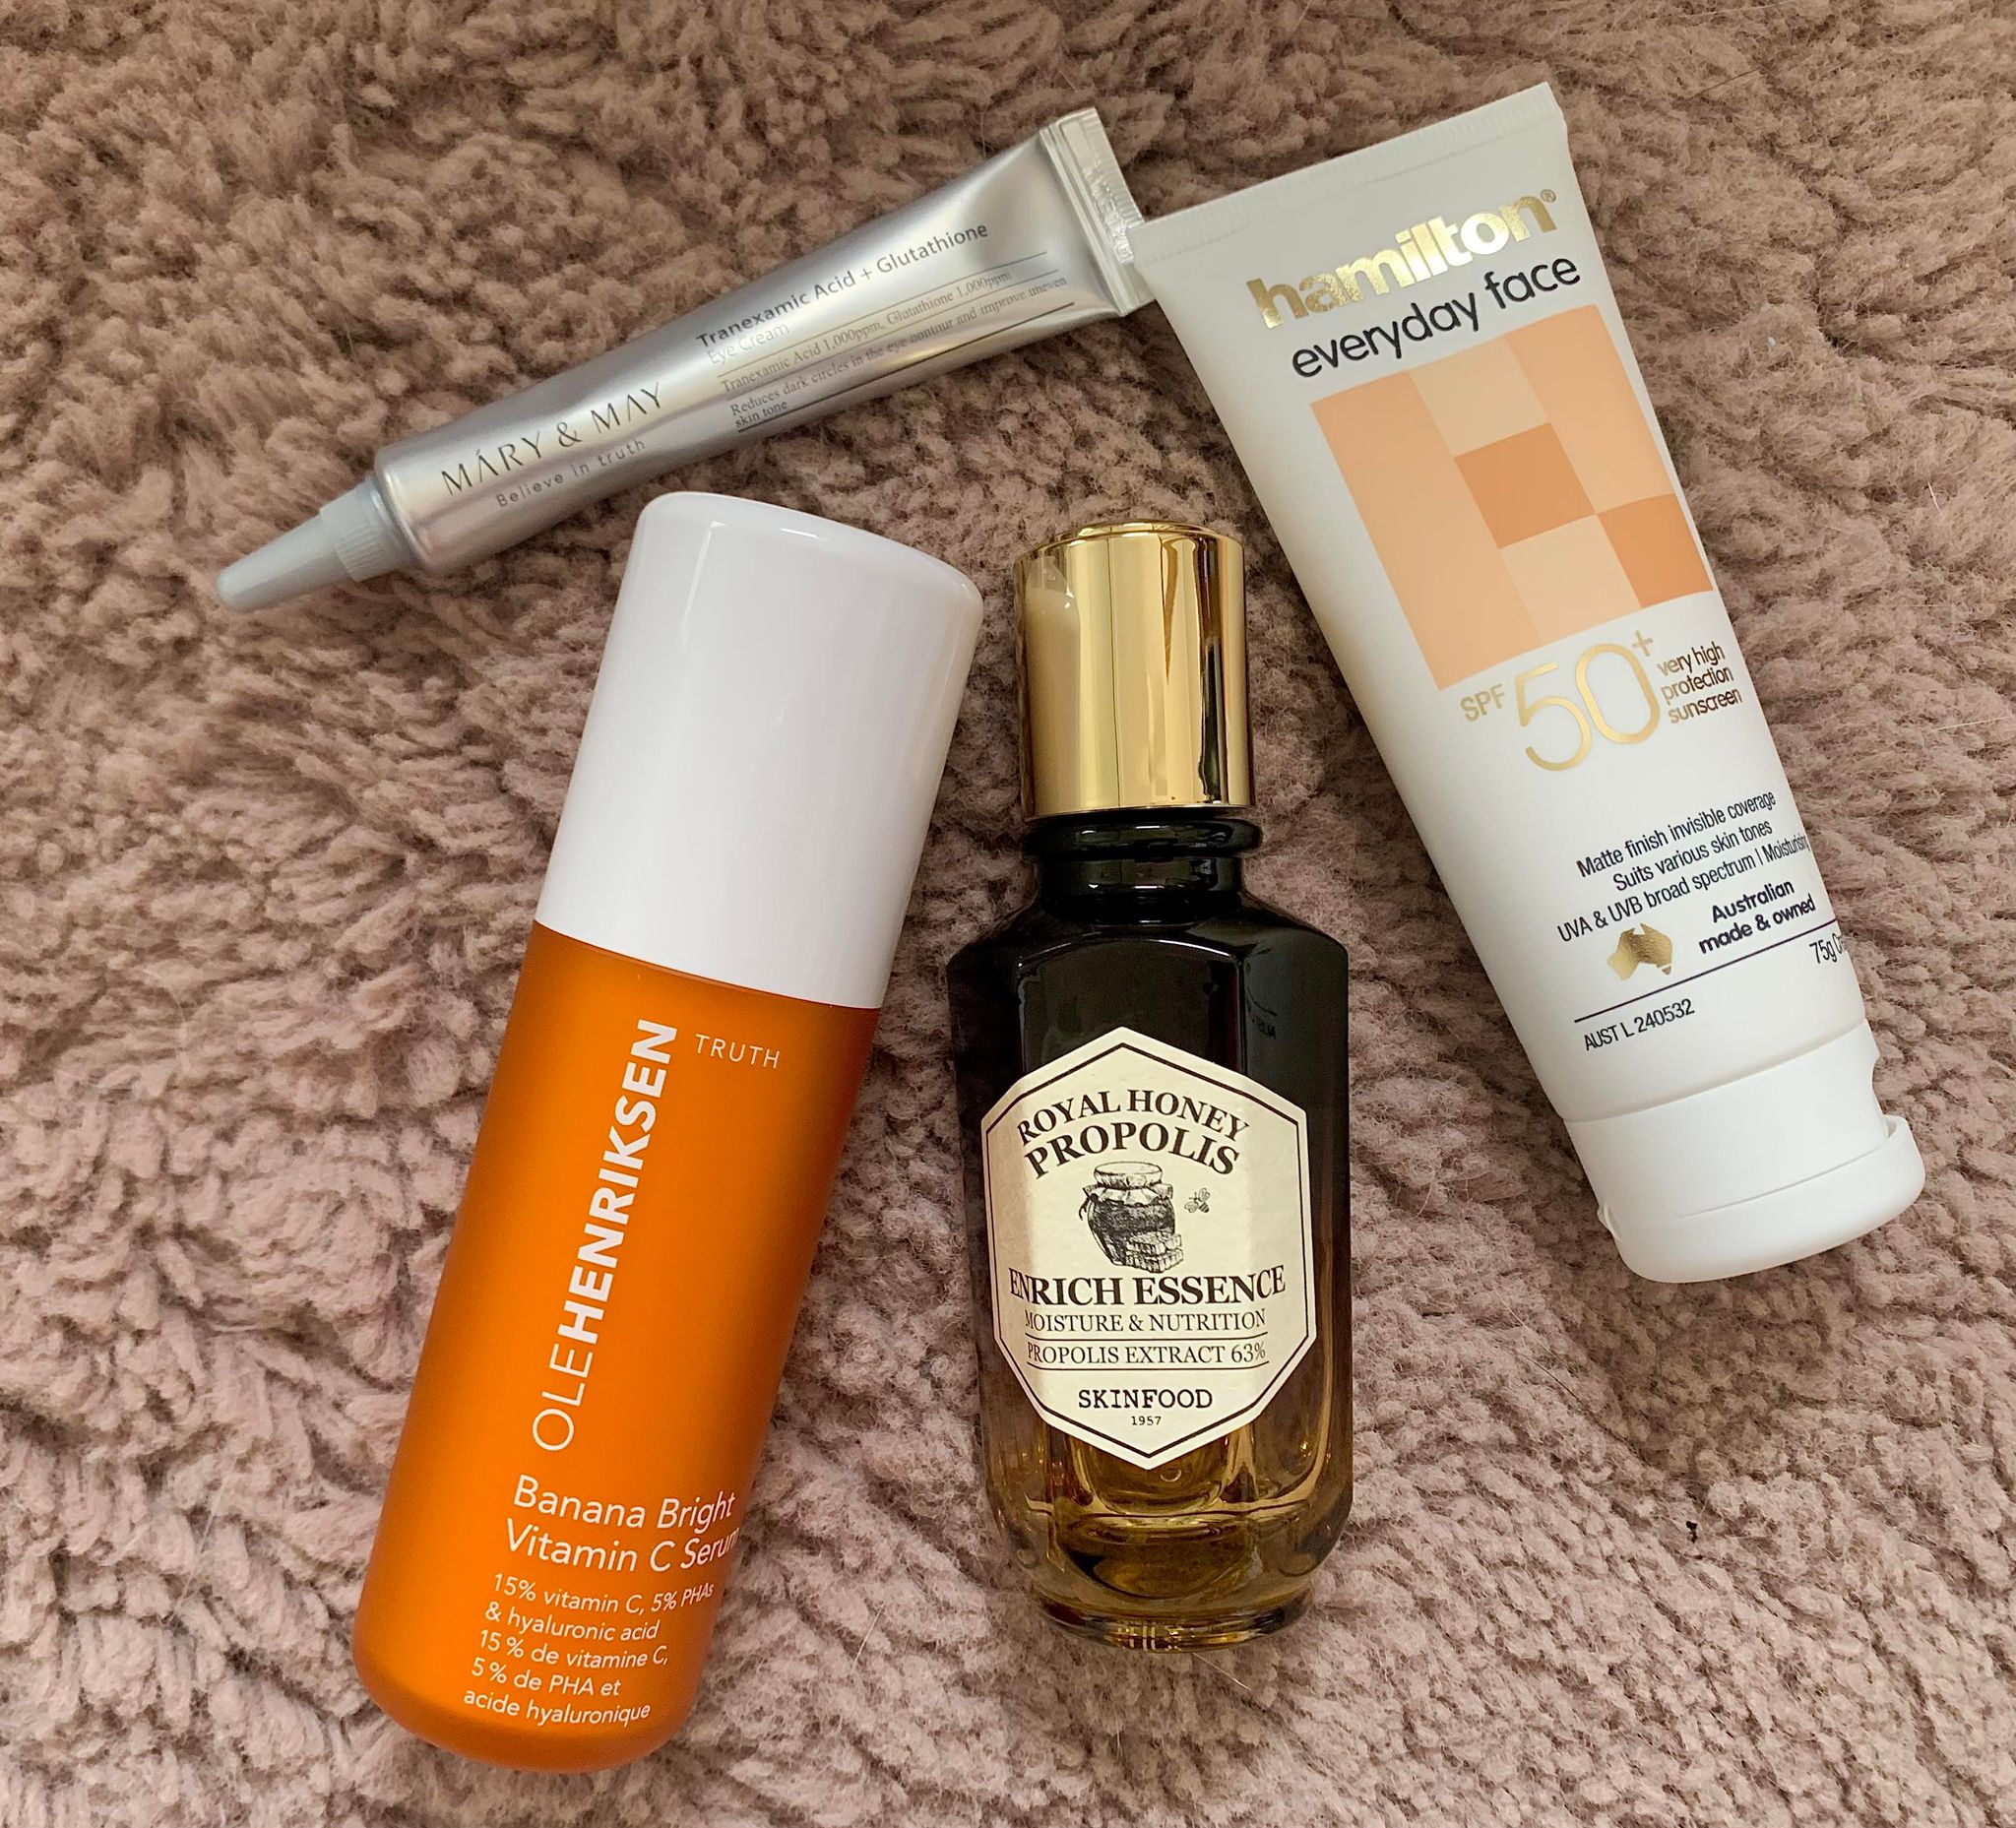
Use gentle, hydrating products like a hydrating cleanser and a calming serum with soothing ingredients like aloe, green tea, centella or jojoba. Choose a ceramide and peptides heavy moisturiser, as these are going to also help with skin recovery, by acting as a bit of a multi vitamin for skin health!
Keep up a simple, hydrating routine for a few days to give your skin the best chance of recovery and, most important, USE SUNSCREEN! Nothing is going to help prevent scarring better than a sunscreen. SPF 50, people!


A week long progress shot after another regretful pimple popping session. (First picture) is directly after, (second picture) is the next day after skincare and (third picture) is 3 days later, all healed up with minimal redness and scarring!
And there you have it, your steps to success after succumbing to those intrusive thoughts and those picky fingers.
Be patient and kind to yourself and know that healing will always take time, your skin is doing its best!